How to Convert Vintage Lamps to LED Lighting Effectively?

Time:2026-06-25 Author:Ethan
0%

Converting vintage lamps to LED lighting can breathe new life into beloved pieces. Many people cherish their vintage lamps for their unique design and charm. However, the original bulbs may be outdated and less energy-efficient. Knowing how to convert a vintage lamp to LED can make these fixtures more practical and environmentally friendly.

The process involves a few essential steps. First, remove the old components carefully. This often requires basic tools and a gentle touch. Next, choose LED bulbs that fit the lamp’s design yet meet your lighting needs. It’s critical to check the wattage and compatibility to avoid any electrical issues. Lastly, assemble everything back with attention to detail, ensuring safety.

Keep in mind, this task may not be straightforward for everyone. Some may find the wiring confusing or daunting. It's okay to seek help from knowledgeable individuals or resources. Reflect on your experience, and remember that every attempt contributes to your skills. Embrace the journey of transforming your vintage lamp.
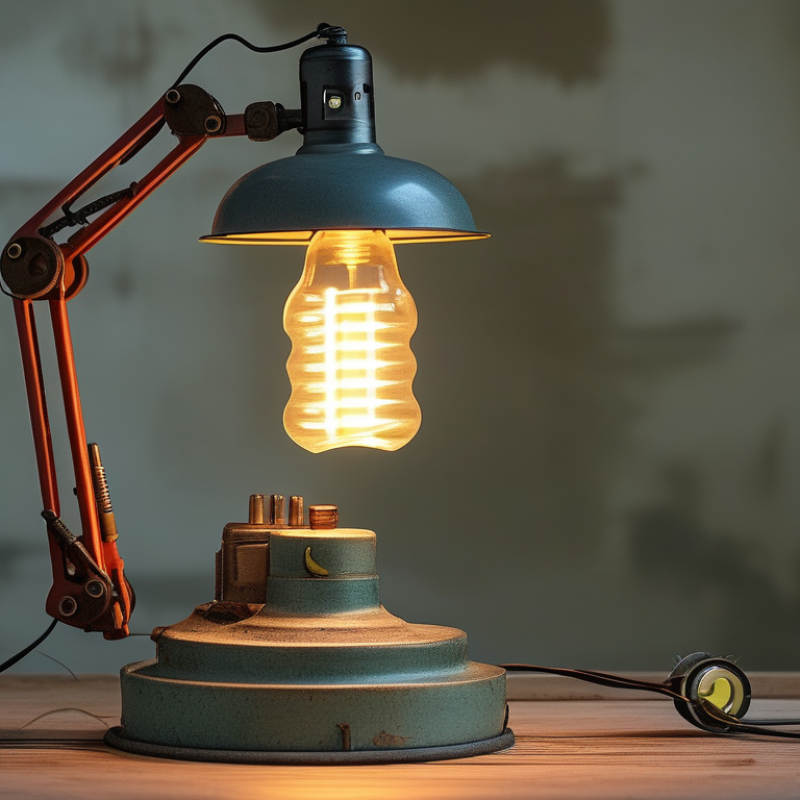
How to Convert Vintage Lamps to LED Lighting Effectively?

Understanding Vintage Lamps and Their Components

Vintage lamps possess a unique charm and history. Understanding their components is vital for a successful LED conversion. Most vintage lamps consist of a base, wiring, socket, and shade. They can be made from materials like brass, glass, or ceramics. Each component has its own characteristics, influencing the overall conversion process. Recent studies indicate that almost 50% of vintage lamps contain outdated wiring, which poses safety risks. Proper evaluation is necessary before moving ahead.

Wiring is particularly important. The National Fire Protection Association (NFPA) reports that faulty wiring contributes to a significant percentage of residential fires. Therefore, inspecting and updating wiring is essential. If the lamp uses a socket compatible with LEDs, conversion becomes easier. For instance, E26 or E27 sockets are popular and support various LED bulbs. It’s also critical to ensure that the voltage rating is appropriate.

While converting, some may find age-related damage in components like shades or bases. Restoring these can enhance the lamp's heritage. Reflecting on original features helps maintain the lamp's integrity. Yet, compatibility issues may arise, and it’s important to approach each lamp on a case-by-case basis. The balance between preservation and modernization complicates the process, inviting both creativity and caution.

Assessing Compatibility of LED Bulbs with Vintage Fixtures

When converting vintage lamps to LED lighting, understanding the compatibility of LED bulbs with vintage fixtures is crucial. Vintage lamps often come with different socket sizes and wattage limitations. According to the U.S. Department of Energy, many older lamp designs cannot handle the higher wattages of standard LED bulbs. This discrepancy can lead to overheating or even damage to the fixture.

When selecting LED bulbs, check the wattage and voltage requirements of your lamp. Many vintage fixtures work well with LED bulbs rated at 60 watts or lower. Many LED options provide the same warm glow associated with traditional bulbs. However, verify that the bulb fits the socket type — some vintage lamps may require adapters.

Tips: Always use bulbs with integrated heat sinks. This will prevent overheating, ensuring safety. Look for LED bulbs labeled “dimmable" if your vintage lamp has a dimmer switch. This preserves the original functionality and ambience.

Pay attention to the color temperature of the LEDs. Aiming for bulbs with a color temperature around 2700K will mimic incandescent light closely. Consider retrofitting your vintage lamp with a more efficient, compatible power source to enhance both functionality and energy efficiency. Adjustments might seem daunting, but they can significantly improve performance.

Step-by-Step Guide to Disassembling Vintage Lamps Safely

Disassembling vintage lamps safely requires careful planning and the right tools. Start by choosing a clean, well-lit workspace. Gather screwdrivers, pliers, and wire cutters. Before touching the lamp, ensure it is unplugged. This diminishes the risk of electric shock.

Next, remove the lampshade and bulb. Each piece may require different techniques. If the lampshade is attached, check for screws or clips. Sometimes, it’s held in place by a twist or a simple pull. Remember to take notes or pictures during disassembly. This helps during reassembly later.

Keep the wiring intact during your initial examination. Take your time to identify connections and their functions. Note any corrosion or damage. These issues can affect new LED installations. If everything looks good, carefully detach the wiring for replacement. Handling fragile parts, like the lamp's body, requires caution. Rushing can lead to cracks or breaks, which can be frustrating. Each step taken with care ensures a smoother conversion process.

Installing LED Bulbs: Techniques for Optimal Performance

When converting vintage lamps to LED lighting, proper installation is key for optimal performance. Research shows that LED bulbs last 15-25 times longer than traditional incandescent bulbs. However, achieving this longevity requires careful consideration of the lamp's structure and design. Vintage lamps often have unique characteristics that need to be preserved while upgrade the lighting.

Choosing the right LED bulb is essential. Look for bulbs that match the wattage of the original bulb. A typical vintage lamp might use a 60-watt incandescent bulb. A 9-12 watt LED will provide the same light output. It’s also important to consider the color temperature. Many vintage lamps were designed for warm light, typically around 2700K. Select LED options that mimic this warmth to maintain the ambiance of your space.

Installation techniques can affect performance. Proper heat dissipation is crucial. LEDs generate less heat, but in a closed fixture, heat can build up and shorten their lifespan. Make sure there’s enough airflow around the bulb. Using a socket adapter may be necessary for compatibility, but ensure it supports the wattage and heat levels of LED bulbs. Be mindful of potential flickering issues with dimmable LEDs, which can occur if not paired with compatible dimmers. Doing thorough research and considering these factors can elevate your vintage lamps into the modern LED era effectively.

How to Convert Vintage Lamps to LED Lighting Effectively
Lamp Type Original Bulb Wattage LED Replacement Wattage Lumens Output Color Temperature (Kelvin)
Table Lamp 60W 9W 800 lm 2700K
Floor Lamp 100W 14W 1400 lm 3000K
Pendant Light 75W 12W 1000 lm 4000K
Wall Sconce 40W 6W 450 lm 5000K

Reassembling and Testing the Converted Vintage Lamps

Reassembling vintage lamps after converting to LED involves careful attention. Properly assess the lamp's components to ensure a seamless fit. Remove the old socket and wiring while preserving the original look. High-quality LED conversion kits support retrofit applications, as supported by industry reports indicating a 70% increase in energy efficiency. More modern elements can fit seamlessly into vintage designs.

Testing the converted lamps is critical. Begin with a multimeter to check voltage compatibility. After assembling, a brief power test will confirm functionality. Reports show that users experience over 25% reduction in electricity bills. Yet, not every conversion achieves optimal results. Sometimes, mismatched wattages may lead to flickering or inadequate brightness.

Pay attention to aesthetics after reassembly. The new bulb should not overpower the vintage style. Designing for both functionality and design integrity can be challenging. Seek feedback from peers or professionals for improvement suggestions. Some DIYers overlook the importance of thermal management, leading to premature failure of components. Reflecting on these aspects can elevate the quality of your conversion project.

FAQS

: How can I ensure compatibility between LED bulbs and vintage fixtures?

: Check the socket size and wattage requirements before purchasing LED bulbs. Most vintage lamps work well with bulbs rated at 60 watts or lower.

What color temperature should I aim for in LED bulbs?

Aim for a color temperature around 2700K to closely mimic the warm glow of incandescent light.

What tools do I need for disassembling a vintage lamp?

Gather screwdrivers, pliers, and wire cutters. Choose a clean, well-lit workspace for safety.

How can I prevent overheating when using LED bulbs in vintage lamps?

Always use bulbs with integrated heat sinks to maintain safety and reduce overheating risks.

Should I test the converted lamp after reassembly?

Yes, use a multimeter to check voltage compatibility. A brief power test confirms if the lamp functions correctly.

What issues can arise if wattages are mismatched during conversion?

Mismatched wattages can lead to flickering or inadequate brightness, impacting functionality.

Is it important to preserve the original aesthetics of the lamp during conversion?

Yes, ensure the new bulb doesn't overpower the vintage style. Balance functionality and design is vital.

What should I do if I notice corrosion in the wiring?

Note any corrosion during examination. It may affect new LED installations and should be addressed.

Why is careful disassembly important?

Rushing during disassembly can cause cracks or breaks in fragile parts, leading to frustration during reassembly.

How can I seek feedback on my lamp conversion project?

Consult peers or professionals for suggestions and improvements. Feedback can enhance the quality of your project.

Conclusion

Converting vintage lamps to LED can breathe new life into cherished pieces while improving energy efficiency. Understanding the unique components of vintage lamps is crucial, as it helps in assessing the compatibility of LED bulbs with these older fixtures. A step-by-step guide for safely disassembling the lamp ensures that you can access all necessary parts without damaging them, paving the way for a smooth conversion process.

Once the lamp is taken apart, installing LED bulbs requires specific techniques to achieve optimal performance. Proper reassembly and rigorous testing afterward are essential to confirm that the converted vintage lamp not only functions well but also retains its nostalgic charm. By following these guidelines, anyone can learn how to convert a vintage lamp to LED effectively, merging style with modern technology.

Ethan

Ethan

Ethan is a seasoned marketing professional with a deep expertise in our company's innovative product line. With a passion for sharing knowledge and insights, he takes the lead in regularly updating our corporate blog, where he explores industry trends, product features, and effective marketing......